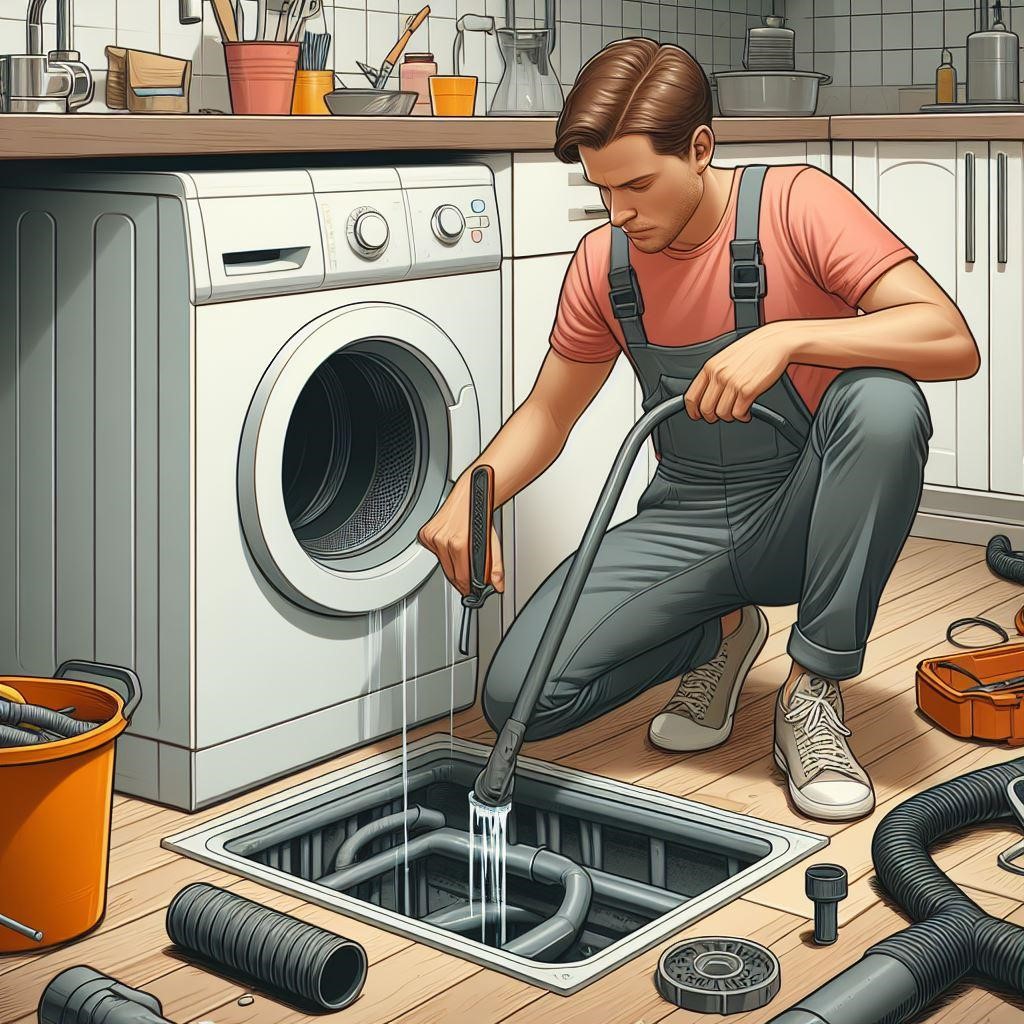
A washing machine drain pan serves as a crucial barrier against water damage by capturing leaks and overflow from the appliance. Properly plumbing a drain pan ensures that any water discharged is safely directed away from your home’s interior. In this detailed guide, we’ll explore the step-by-step process of plumbing a washing machine drain pan, covering essential considerations, materials needed, and potential challenges along the way.
Table of Contents
Toggle
Understanding the Importance of a Washing Machine Drain Pan
Before diving into the plumbing process, it’s essential to grasp why a drain pan is necessary. Washing machines are prone to leaks, whether from damaged hoses, faulty connections, or internal malfunctions. Without a drain pan, these leaks can result in significant water damage to floors, walls, and belongings. By installing a drain pan and properly plumbing it, you create a safeguard that helps mitigate the risk of such damage, providing peace of mind and protecting your investment in your home.
Materials and Tools Needed:
Before starting the plumbing process, gather the following materials and tools:
- Washing machine drain pan
- PVC or ABS drain pipe (1 ½ to 2 inches in diameter)
- PVC or ABS fittings (elbows, couplings, adapters, etc.)
- Pipe wrench or adjustable wrench
- PVC cement
- Measuring tape
- Hacksaw or PVC pipe cutter
- Level
- Screwdriver
- Silicone caulk (optional)
Step-by-Step Guide to Plumbing a Washing Machine Drain Pan:
- Choose the Location: Select a suitable location for the washing machine drain pan, ideally close to the washing machine’s existing drain outlet. Ensure the area is level and accessible for plumbing connections.
- Install the Drain Pan: Place the washing machine drain pan in the chosen location, making sure it sits level on the floor. Follow the manufacturer’s instructions for securing the drain pan in place, which may involve using screws or adhesive.
- Determine Drain Placement: Decide where you want the drain pipe to exit the drain pan. This is typically located at the lowest point of the pan to ensure proper drainage. Mark this point on the pan for reference.
- Measure and Cut the Drain Pipe: Using a measuring tape, determine the length of drain pipe needed to connect the drain pan to the existing plumbing system. Use a hacksaw or PVC pipe cutter to cut the pipe to the appropriate length.
- Dry-Fit the Drain Pipe: Assemble the drain pipe and fittings without applying cement to ensure everything fits together properly. Position the pipe so that it slopes downward from the drain pan outlet toward the existing plumbing connection. Use a level to confirm the pipe’s slope for proper drainage.
- Cement the Drain Pipe: Once satisfied with the dry fit, disassemble the pipe and fittings and apply PVC cement to the ends of the pipe and inside the fittings. Quickly reassemble the pipe, ensuring a secure connection. Hold the pieces together for a few seconds to allow the cement to set.
- Connect to Existing Plumbing: Depending on your setup, you may need to connect the drain pipe to an existing drain line or a floor drain. Use appropriate fittings and adapters to make a watertight connection, tightening them securely with a wrench.
- Test the Drainage: With the plumbing connections in place, run a test cycle on the washing machine to check for leaks. Monitor the drain pan and surrounding area for any signs of water accumulation or seepage. Adjust the connections as needed to resolve any issues.
Additional Tips and Considerations:
- Consider adding a drain line trap to prevent sewer gases from entering your home through the washing machine drain.
- If the drain pan is located in a finished space, such as a laundry room or basement, consider applying silicone caulk around the edges of the pan to create a watertight seal with the floor.
- Regularly inspect the washing machine, drain pan, and plumbing connections for signs of wear or damage, and address any issues promptly to prevent potential water damage.
Conclusion
Plumbing a washing machine drain pan is a straightforward yet essential task that can help protect your home from water damage caused by washing machine leaks. By following the steps outlined in this guide and using the right materials and tools, you can create a reliable drainage system that provides peace of mind and safeguards your home’s integrity. Remember to prioritize proper installation and regular maintenance to ensure the continued effectiveness of your washing machine drain pan. With these measures in place, you can enjoy the convenience of your washing machine without worrying about potential leaks and their consequences.

